Disk Image
- Make sure all requirements above are met.
- Login as an admin into the target Windows computer.
- Connect the LLIMAGER-win drive containing
*LLIMAGERW.exe*and the license key file (llimager.lic). - Connect the destination disk (as needed).
- On your USB drive, navigate to
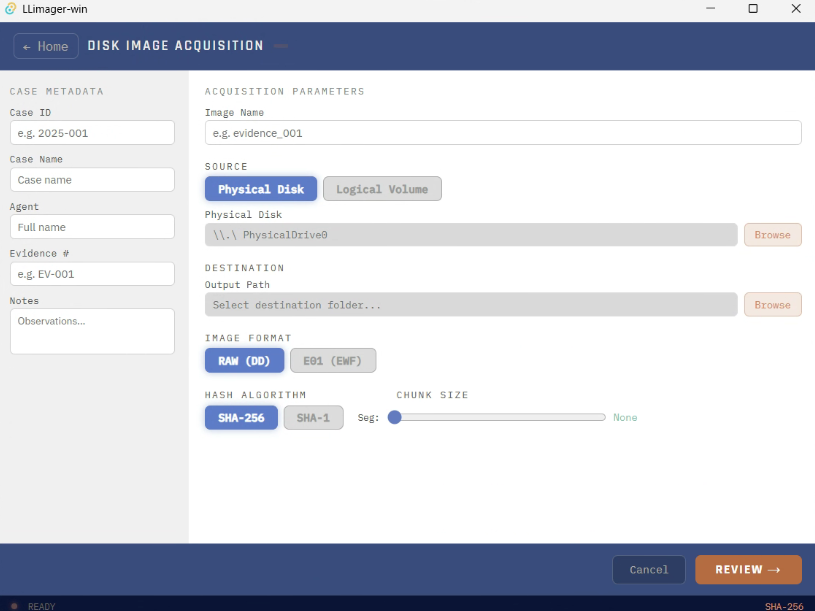
\llimagerand double-click*LLIMAGERW.exe*. Once it launches, the Home screen will appear with the six module icons, as shown in Getting Started. For image a disk, click on the button "Disk Image" and the following screen will be presented:
Disk Image (#disk-image)
This option performs a full-disk (system volume) acquisition, imaging the computer's hard disk directly to E01 (EWF) format using ewfacquire, or to a raw DD image via ddrescue for damaged/unstable disks or when raw DD images are required. The process includes hash calculation and generation of a signed, tamper-evident PDF acquisition log with embedded QR code.
- Enter an Image Name (do not use spaces).
- Select the source device to be imaged; LLIMAGER-win will verify the device and display its size and volume information.
- Select the destination path for the image.
- Select hash options, if hashing should be performed and which algorithm to use.
- Click Review to verify the collection settings.
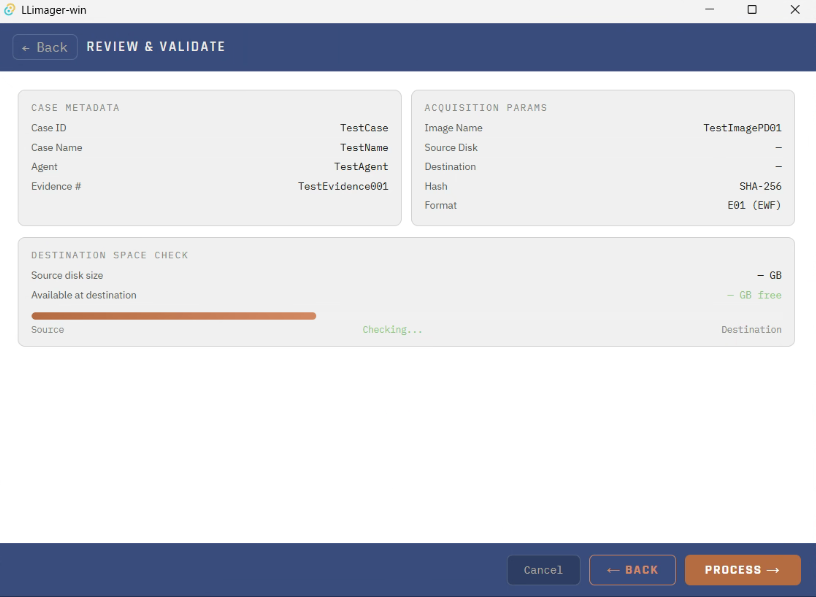
- Review the Configuration: verify the data, then click Process Image to proceed, or go back to make modifications.
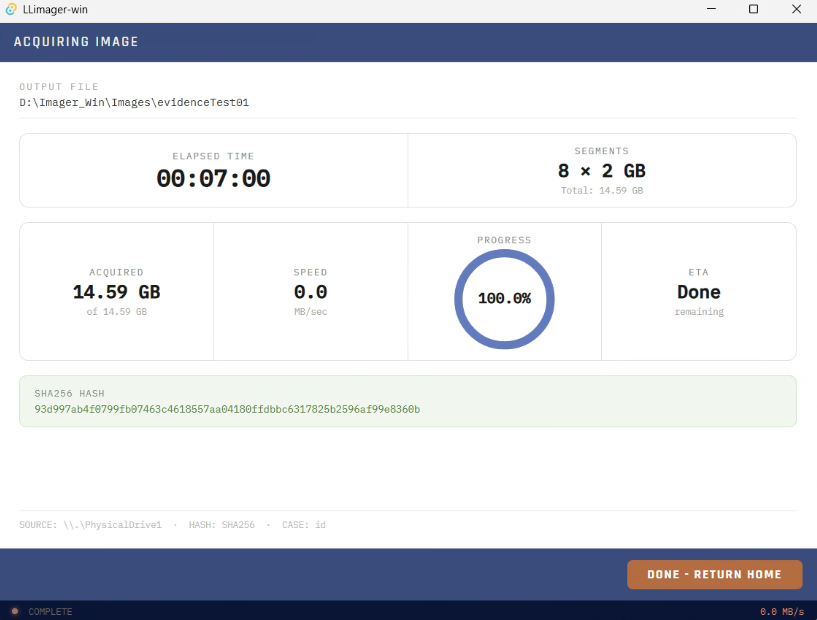
- Start Processing: in the Process Image view, click Process. Completion time depends on image size.
Note: if the Process Image button is disabled, a warning message will indicate the required corrections (e.g., invalid name or insufficient disk space).