Send To Cloud
- Make sure all requirements above are met
- Login as an admin into the target Mac computer
- Connect the LLIMAGER drive that contains the copy of the llimager.app and license key file (llimager.lic)
- Connect the destination disk (as needed)
- On your USB SSD, navigate to /llimager and double-click on “llimager.app” and once it launches, enter a local admin password and click the
button.
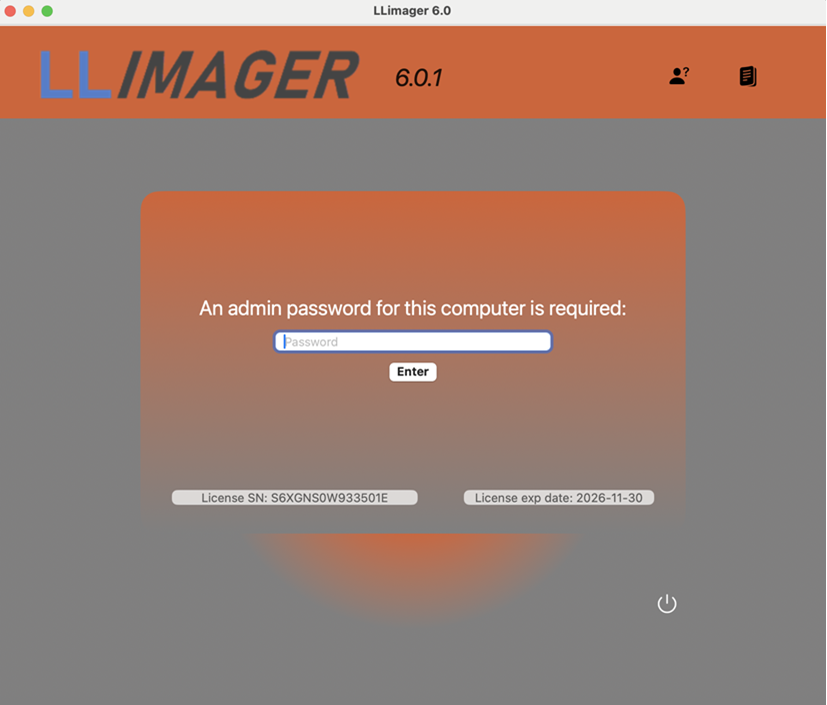
• On your USB SSD, navigate to /llimager and double-click on “llimager.app” and once it launches, enter a local admin password.

• Make sure to review the "Best Practices Checklist" and click OK when done. Then select the type of image you want to make
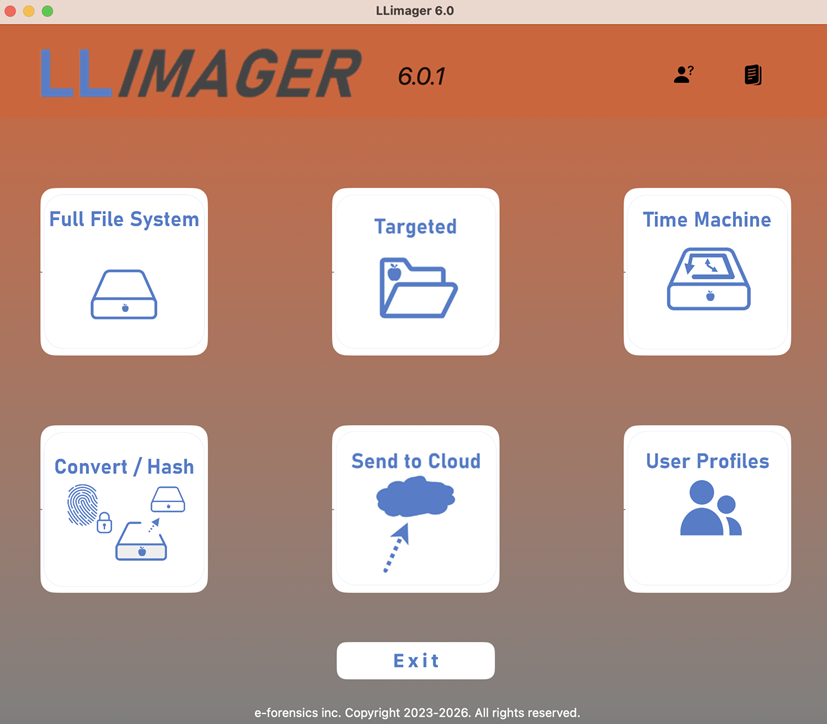
LLIMAGER Menu Options
Full File System
This option is equivalent to a full file system and allows the entire process of imaging the computer’s hard disk volumes’ active space, saving the image to a Mac sparse image container and then conversion of the image to a compressed DMG file, and calculating the hash value of the DMG file. During the process, there will be an option to fully automate the process by creating the final DMG or to just generate the sparse file.
Targeted
This option allows the imaging of targeted files/folders on the computer’s hard disk, saving the image to a compressed read-only DMG file, and calculating the hash value of the DMG file. It includes granular selection of documents and folders based on custom file types (extensions) and file system dates such as the birth time (creation), modified, accessed and the change time (inode delta). Moreover, profiles are available to save selections for future jobs.
Time Machine
A Time Machine-based disk image of the near-full data volume, including Trash folders, can be created using this feature. Unlike standard Time Machine backups, LLIMAGER 6.0 includes all Trash folders, which are typically excluded, and packages the image into a single DMG file. Note, Time Machine omits specific system, log, and cache files, thus this option is better suited for e-discovery rather than digital forensics workflows.
Convert/ Hash
This option allows the process of converting a sparse image file to a compressed DMG file, and to calculate the hash value of the DMG file.
Send to Cloud
Allows uploading of images to AWS, Google Cloud or Microsoft Azure using authentication keys and giving option to securely saving credentials for future uploads. Note, you can preview the upload speed on the environment where the upload process will be occurring.
User Profiles
This option allows the imaging of targeted user profile(s), saving the image to a ZIP or DMG file, and calculating the hash value.
Exit
This option will exit the application.
Creating Evidence files
The core workflow of the LLIMAGER app encompasses evidence capture, DMG file generation, and the creation of a signed, tamper-protected PDF log.
Before You Begin
- Confirm you are logged in the target Mac computer with valid local admin credentials
- Make sure you have enabled full disk access for the LLIMAGER app
Step 1 — Start a Send To Cloud Session
- Click the Send To Cloud icon.
- The Send To Cloud form will appear.
For examiners and e-discovery services providers with cloud storage availability, LLIMAGER has added a feature to copy images to AWS, Google Cloud or Azure.
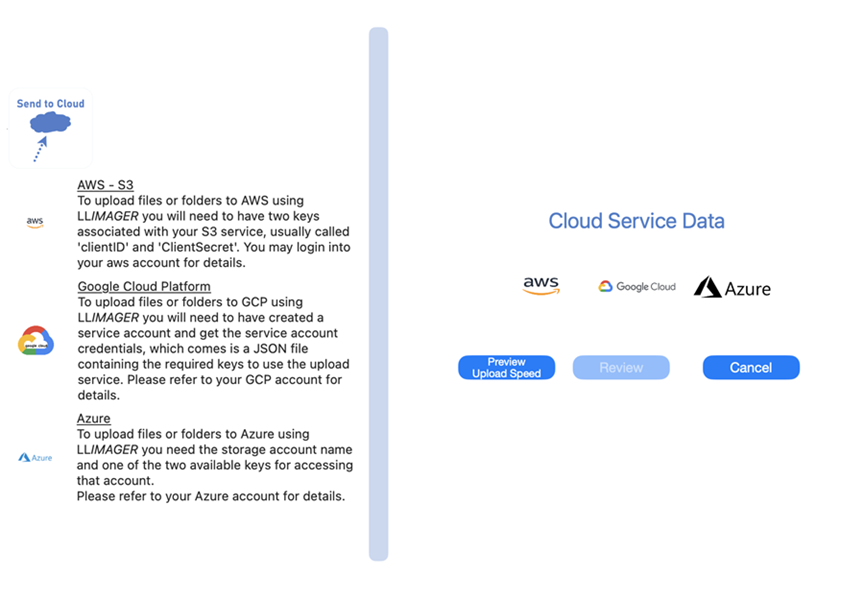
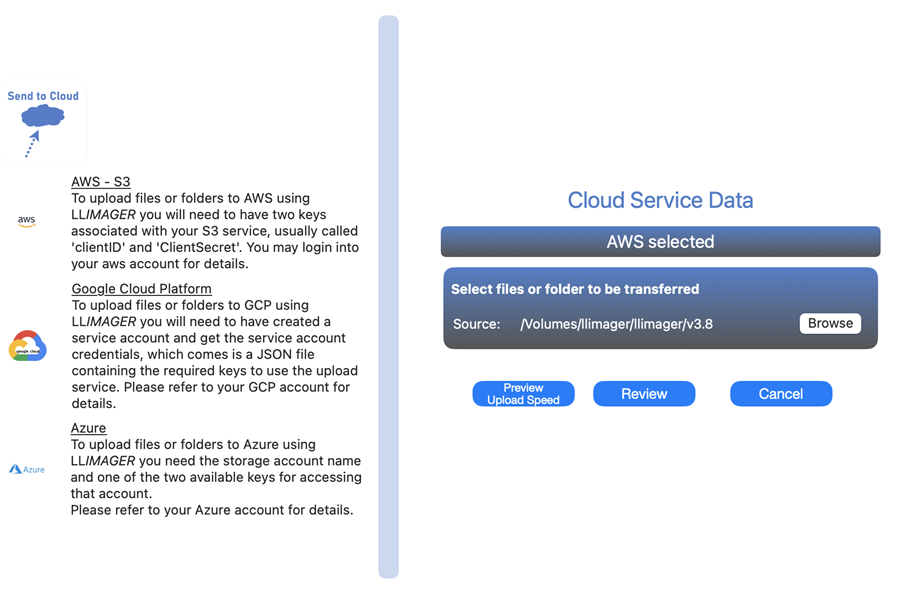
Upon clicking the "Send to Cloud" button, the main interface displays two primary sections. The left pane provides general information regarding the prerequisites for utilizing each supported cloud service, while the right pane presents the service selection interface.
Step 2 — Fill in Fields
Cloud Authentication Requirements
Specific authentication requirements for each service are as follows:
Amazon Web Services (AWS)
Uploads to AWS require two credentials: a Client ID and a Secret ID. These credentials can be readily obtained by the user through the AWS Management Console.
Google Cloud Platform (GCP)
Uploads to GCP require a credential JSON file, accessible through the user's Google Cloud account.
Azure Storage
Uploads to Azure Storage necessitate two credentials: the Account Name and one of the two Secret Keys associated with that account. These keys are provided by Azure.
For enhanced security and streamlined access, all credentials can be securely stored (password-protected) on the LLIMAGER device. Furthermore, the interface provides a preview of the anticipated upload speeds within the target environment.
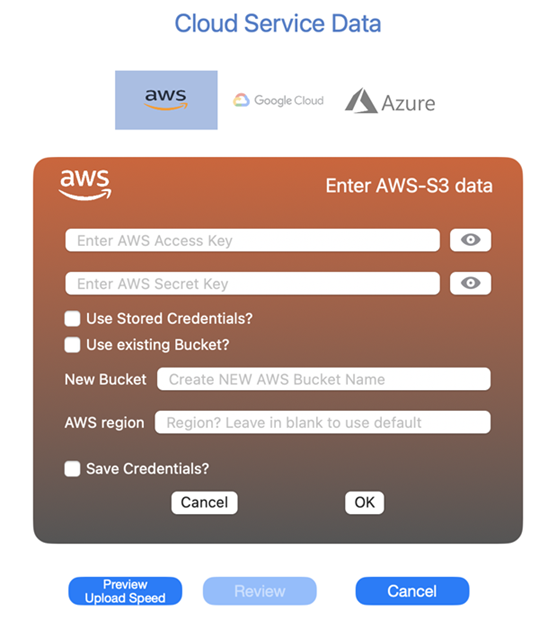
For example, to use AWS:
The two required AWS credentials, Client ID and Secret ID, should be entered in the designated fields. Users have the option to select an existing bucket or create a new one.
For most users, utilizing the default AWS region is recommended. This can be achieved by leaving the AWS Region field blank.
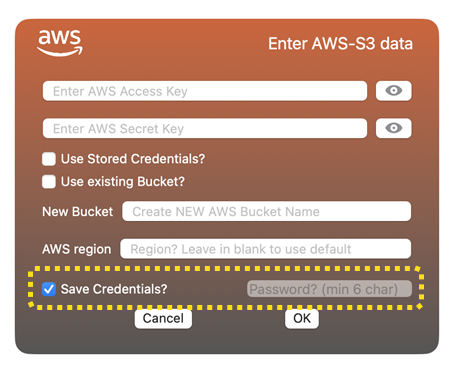
To save the AWS credentials for future use, click "Save Credentials?" and a password prompt will appear to add a password.
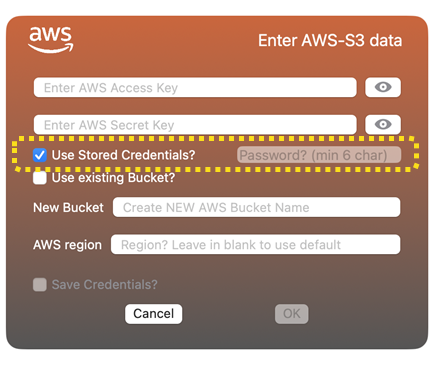
Previously saved credentials can be retrieved by clicking "Use Stored Credentials?" Note, selecting "Use Stored Credentials" disables "Save Credentials".
Upon pressing the OK button, the next step is to select the image or folder to be uploaded; see below:
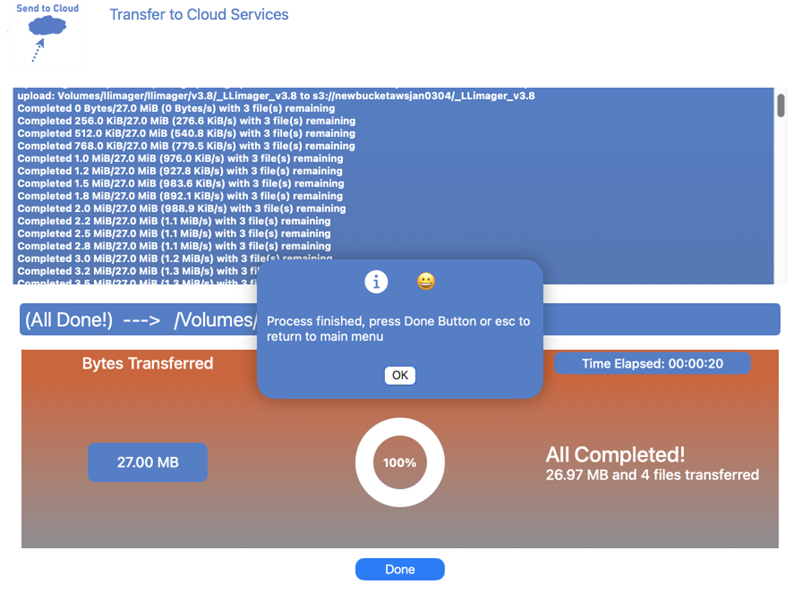
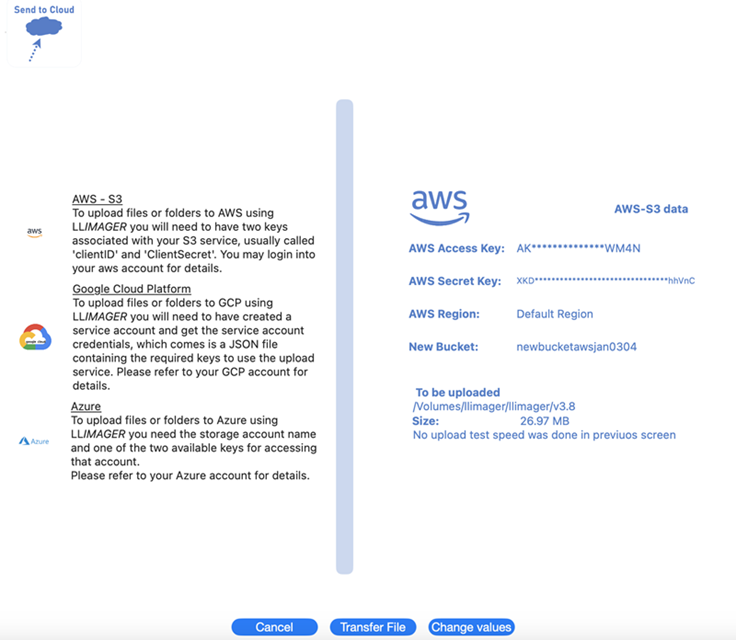
Once the credentials have been entered, and the file or folder to upload has been selected, the review screen is presented showing all fields entered (credential masked) for review. Once satisfied click the Transfer File button; see below:
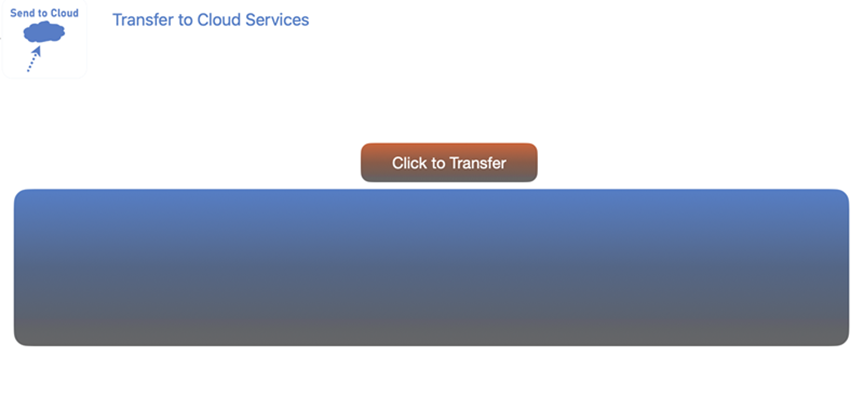
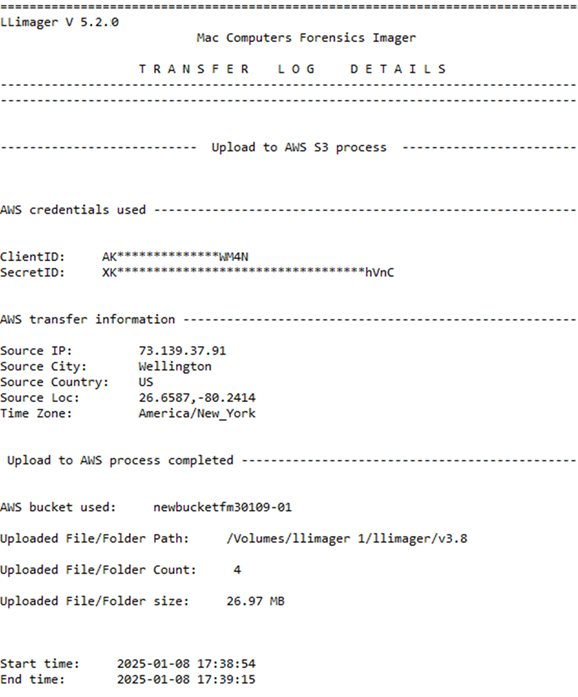
Below is a sample of the transfer log: